Sunday, January 10, 2021

Quilting Design Board

While designing the Flannel Quilt for my Dad (#7 on my UFO list and my only HSY), I found that I needed a space to arrange and rearrange the blocks to finalize the quilt top design. I really miss my quilting design wall and decided that it's something I need to enjoy the quilting process. 

My attempt to play with quilt designs on my tiny ironing board.


The Quilting Design Wall/Board that I had previously was created following the blog post by Diary of a Quilter By Amy Smart. My ex-husband had a problem putting holes in the wall so my design board leaded against the wall in two different houses. What I disliked about it was that 1) we could never get the flannel pulled tight against the board so it sagged, 2) the more I pulled the fabric, the more the insulation would warp/bend and didn't stand up, and 3) it was a pain in the butt to move. It was such a pain to move that when I left the marital home and moved stuff into my storage unit, it got seriously damaged and I put the whole thing (fabric and all) in the garage bin. 

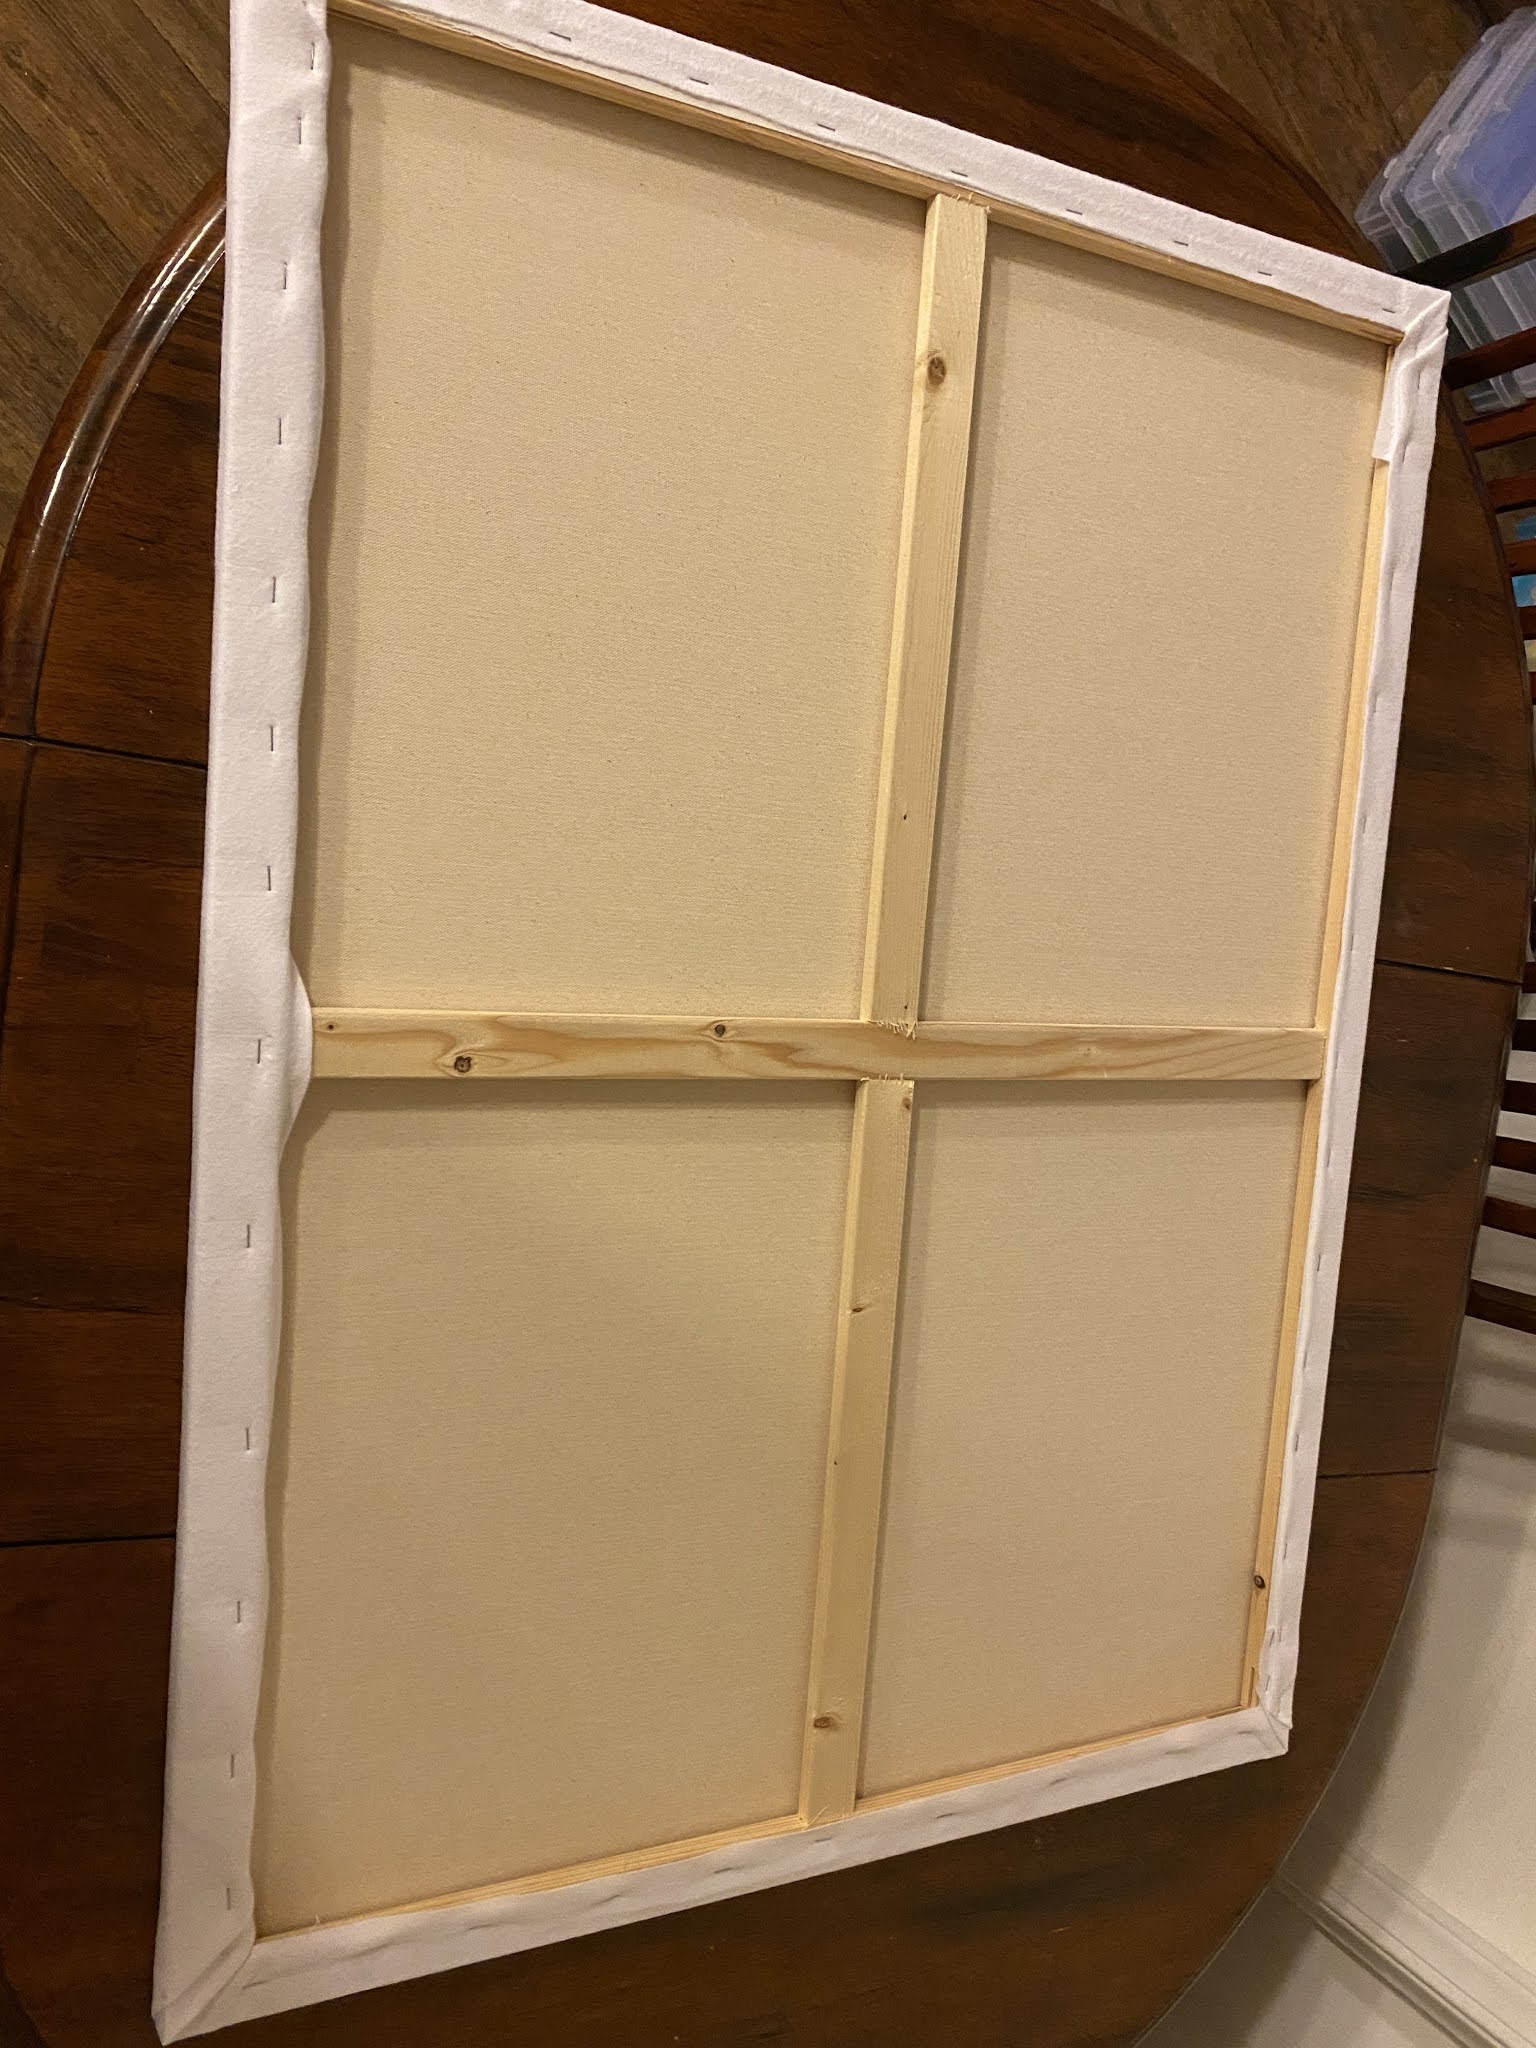
This time around, I did a TON of internet searching and found this post by Alanda Craft using an artist canvas. I love the idea because there's more structure to a canvas' than I had with the insulation and it'll be easier to move by using a few small canvas sections rather than a whole wall sized piece. I decided to purchase (4) 30" x 40" Canvas' and cover each in white flannel. I feel like I scored a deal because I bought the Canvas' when Michael's was running their BOGO Free sale on canvas. I also decided to use an adhesive spray to help me stretch/stick down the fabric on the canvas and purchased a cheap staple gun from Joann's. It worked as easy as the blog post showed it too... seriously this was NO Pinstrosity! It worked perfectly.


I love the result! They aren't hung on my wall yet, but will be when I am able finish the redesign in my bedroom/quilting room. I am enjoying being able to drag the canvas' into the kitchen where I am currently quilting. But when I have to clear the table for distance learning/working, I can take the project back to my room for storage while keeping my progress on the movable design wall.


2021 UFO Challenge

Over the last 5.5 years and through many moves, I have purged my quilting stash twice. The first round, I got rid of probably 10 UFOs and 3 Medium sized moving boxes of fabric, notions and random sewing projects. I kept only completed tops, completed blocks, fabric that had a purpose and a small shoe box of fat quarters. At the time, I was in such a rush to make everything fit into a new, smaller unit. Most of it sat in plastic bins in the corner of my bedroom until quarantine in early 2020, when I decided to redesign my bedroom into a dual purpose bedroom/quilting room. It then sat on my deck until I was able to clear a place in my shed for it.

I decided that since I am spending so much money redesigning my bedroom this year, that I needed to use the fabric/projects I have first. This lead to me searching for a UFO challenge similar to the one I had done previously. I found the American Patchwork and Quilting UFO Challenge and decided it was exactly the motivation I needed. To fill out the Challenge form, I opened 1 of the 3 remaining project bins I have. I only filled out the form with the first 11 UFOs I found and added 1 HSY (Haven't Started Yet). Luckily, my mom had organized the bins with many of my favorite project in the same bin, which is this list.


Each month the group picks a number and that's the project you work on.  I was still working on my list when they announced the January number (#7) and since I needed a project I wanted to work on, I decided to put my HSY on that space. It is a flannel quilt for my dad that I had already started buying fabric for. I am so excited to make a quilt for him especially since I have a completed quilt top for my mom going to the long arm quilter this month. So let's get started!

#apqresolution